This post contains affiliate links for your convenience. The price you pay is the same. However, I receive a small commission.
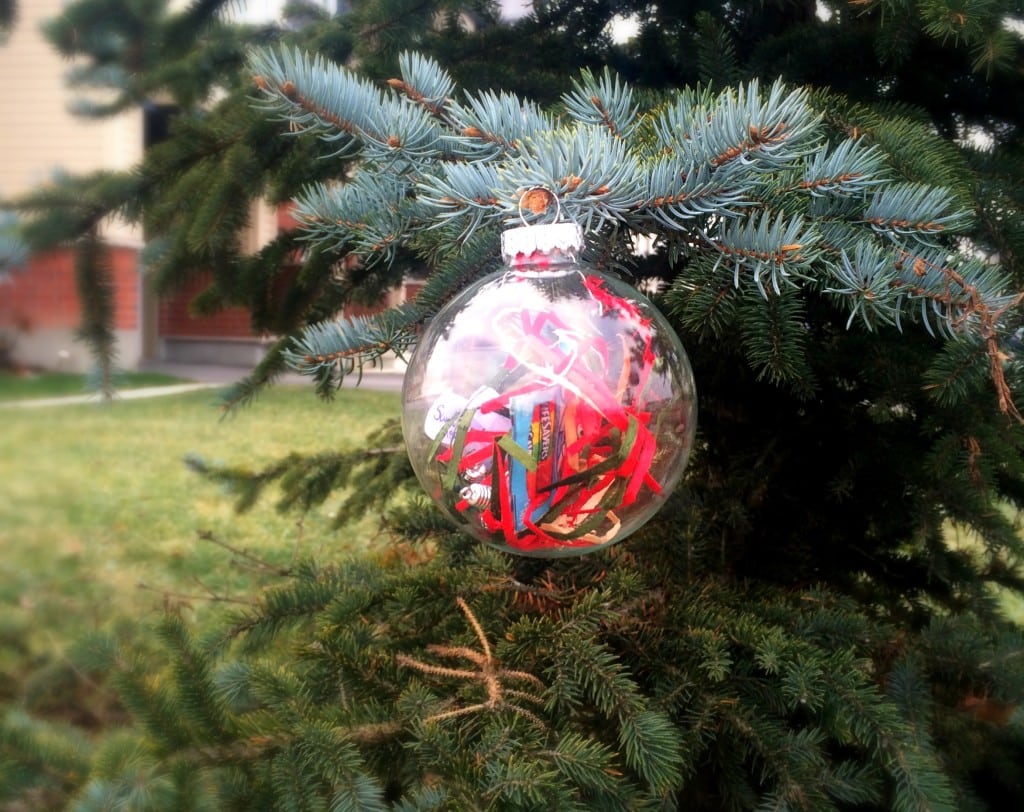
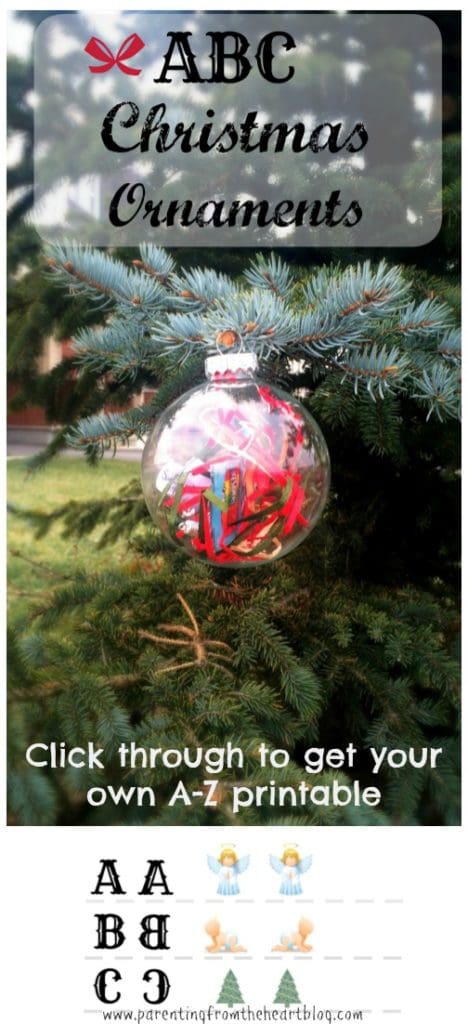
Recently, when I walked into the dollar store and saw clear ornaments meant for crafting, I got excited!
Christmas has a much of a hold on me now as it did in my childhood. Everything from the purchase of advent calendars to thinking up gifts for my family is so exciting. I love listening to Christmas music while shopping through the crowds of people juggling oversized packages. One of my favourite moments is getting into the overpacked church pews decked in garlands on Christmas eve with everyone dressed in their better-than-Sunday-bests. On Christmas Day, I love how everything outside seems to go quiet as Christmas day unfolds inside everyone’s homes. Really, I love this season so very much.
Long story short, the clear ornaments were a must-buy.
The only problem was that I wanted to make something for my kids with my kids. All of the ideas I’d seen up until then on Pinterest were ones I would have to do the bulk, if not all, of the work.
Then it hit me. We used to attend an early learning classroom at a local school. There, I had seen these bean bag looking things with clear windows. Inside of each were lentils, a letter of the alphabet, and items that started with that letter. So, I decided to make something similar.
If you too would like to make ABC Christmas Ornaments, here is a very general how-to including printables to help make the process easier.
ABC Christmas Ornament List of Ideas (including some non-Christmas items)
A: angel, advent calendar, apple, Anna (Frozen)
B: bells, blue, baby Jesus, bear (polar), broccoli, Brussel sprouts
C: Christmas, Cheerio, chocolate chip, Christmas tree, cake
D: drums, decorations, dog, December
E: Elsa (Frozen), elf, elephant
F: fireplace, Frosty the Snowman, feather, Fa la la la
G: gift, glitter, green & gold jingle bells, glove, gum
H: hat (Santa’s), holly, hot chocolate, heart, horn
I: igloo, ice, icicle, ice skate, ice cream, iPad
J: Jesus, jingle bells, jam, Jolly Old St. Nicholas
K: king, three kings
L: lights, lifesavers (cut out Christmas ones from a flyer), lantern, list (Santa’s)
M: Mother Mary, Merry Christmas, music, manger, mitten, money, mountain
N: naughty & nice, nativity, Navidad, North Pole
O: ornament, orange, Olaf (Frozen), owl (Snowy), oval
P: package, party
Q: quilt, queen
R: reindeer, Rudolf, red jingle bells, red Christmas lights
S: Santa, snow, snowman, silver bells
T: toboggan, tree (Christmas), trumpet, toy
U: unwrapping
V: visitors
W: Wisemen, winter, wreath
X: Xmas, x-ray, x-ray fish, xylophone
Y: Yule, Yule log
Z: zebra wearing a Santa hat, zoo, zeal
If you’d like additional ideas, this list from Enchanted Learning is great.
ABC Christmas Ornaments
This activity is chalked full of play-based learning and is great for an early childhood classroom or at home. The ABC Christmas Ornaments promote the skills needed for printing. Cutting the printable and gluing the sides together use fine motor skills and hand-eye coordination. When children pick up the little items to put them into the ornaments, they use the pincer grip needed to hold a pencil. Plus, of course, children are learning letter recognition and the sounds needed for early literacy while making the ornaments too!
What We Used
- Clear ornaments
- ABC Ornament Printable
- Any stickers that correspond with letters – NOTE: stickers that are the same shape work really well. For instance, we used two square Elsa stickers and stuck them back to back for the letter E
- (Optional) Little items that pertain to Christmas, like jingle bells, snowflakes, miniature Christmas lights, reindeer embellishments, and other miniatures
- Christmas stickers
- Flyers and catalogs
- Scissors
- Felt
- Wire or string to hang ABC Christmas ornaments
- Coloured rice
The how-to
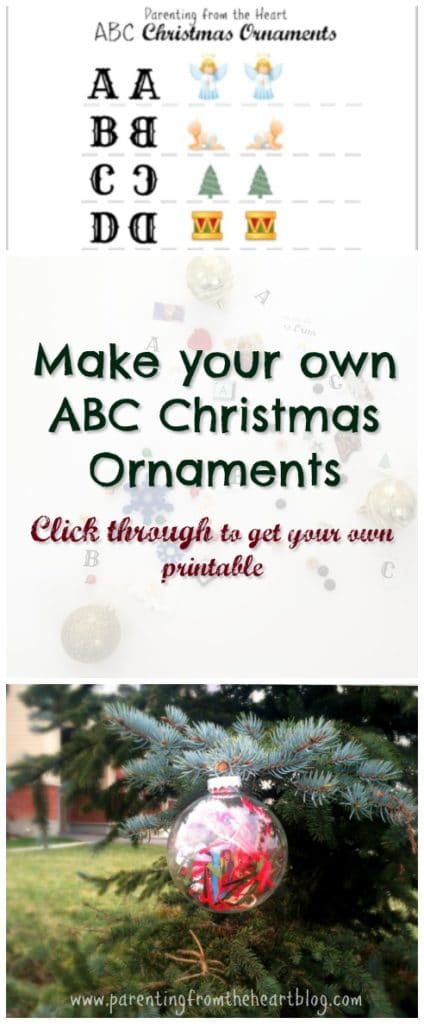
Print out the printable and cut out the letters and icons. Glue the matching letters and the icons together. It is best to have double-sided items so no matter how the ABC Christmas ornament shakes, your child can still make sense of what they’re looking at.You can avoid buying miniature items
Make coloured rice by following these instructions. I recommend putting the rice in the oven at 300°F to dry it out. This takes about 10 minutes. Then, let cool. To skip this step, you can purchase filler.
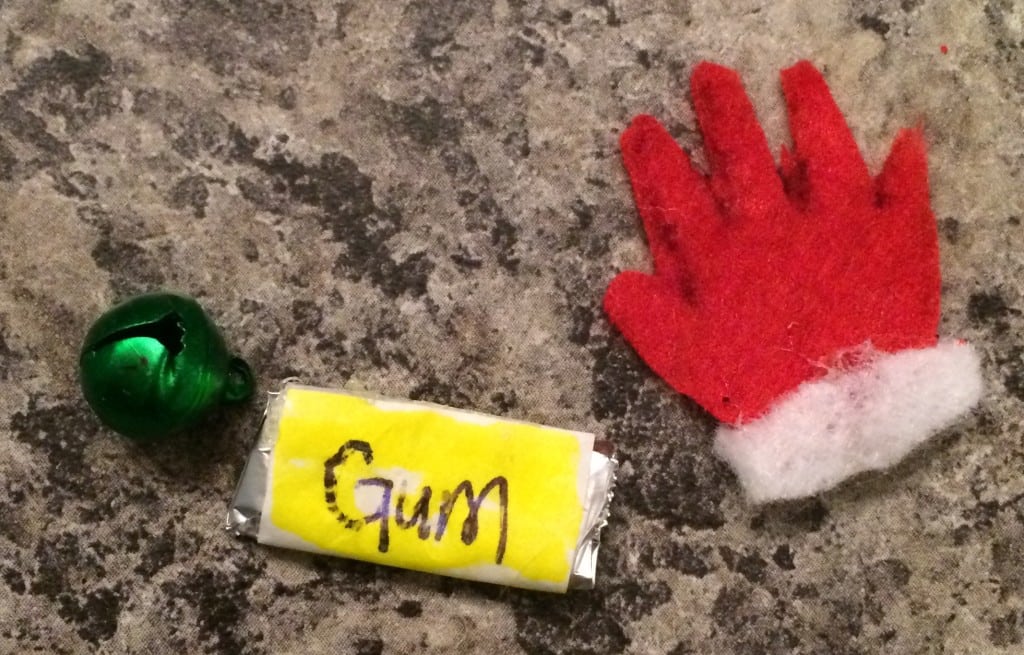
You can skip buying any miniatures by scavenging through your home and recycling for pictures and items that correspond with letters. For instance, I used a cheerio and a chocolate chip in our ornament that starts with C as well as the word Christmas I cut out of a flyer twice and glued together. I drew out items like Santa’s hat, a glove, a mitten, etc. on felt, cut them out, and used hot glue to put these things together. For Santa’s list, I cut out a long rectangle about a 1/2 inch long of white paper, rolled it, then unrolled it, and wrote down names. For the stick of gum, I used a little bit of aluminum foil and wrapped it in a little bit of paper I coloured.
Involve your children in finding items that match letters. Not only is this fun for them, it’s also a great way for them to learn the sounds that letters make. When assembling your items, it helps a lot to make sure every sticker and everything cut out is double-sided. So stickers, I put back-to-back. Cutouts, I cut a duplicate and glued it to the back. I used the hot glue so the cutouts wouldn’t curl the paper. Elmer’s glue will.
Once you have all of your items collected and sorted. Fill the ABC ornaments about a third full with filler like coloured rice. This helps make each ornament into a bit of a mini “I Spy” game.






So Cute!! Will be printing mine out for this weekend. I hold off all things Christmas (except for the blog) until the day after Thanksgiving 🙂
Makes total sense! I hope the print out turns out okay since it’s my first time. Let me know how you like it if you do do it 🙂
This is a great project for me to do with my nieces and nephews for Grandma’s tree. yours look beautiful
Thanks so much, Terri
These are really cute. My kids would love them. Thanks for the idea!
These are so cute, I will be making these with my daughter. i can’t wait to show her and see what kind of ornament she wants to create! Such a fun idea!
Thanks so much Deanna. Please let me know how it turns out!
What a cute way to create one of a kind ornaments while teaching letter association! I think we will try this, this year. We will do C, J and S for each of our names. Thanks for the idea!
Thanks so much, Stephanie! Please let me know how it goes 🙂
These are so cute! Unfortunately I don’t have a crafting bone in my body (unless I’m pregnant in which case I am SUPER CRAFTY). LOL
You don’t have to be crafty to do this one!
I love this activity! I can just imagine running around the dollar store with my son trying to spot an A, then a B, etc. He would love this!!
Please let me know how it goes!
This is such a fun Christmas craft. What a great way to have fun with the alphabet, the holidays and being creative all at once!
Thanks so much Shelah!!! I love your post like this too. I want to make a colour rice one too!
I need to go back to the dollars store and buy more of these! Can’t wait to do this!
So fun!!! Please take a pic and tag me if you make one.
Aw such a cute craft! I’ve got to find some of those clear plastic ornaments, then I could get started on this! I will look this week so I can do this with my son on the weekend. Thanks for sharing! 🙂
This looks like a lot of fun! My daughter would love to do this 🙂 #12daysofblogmas!
These are so much fun! My Mimi made me some with colored tinsel in them and also some with red and green feathers in them! They are both beautiful! Great post! Merry Christmas!